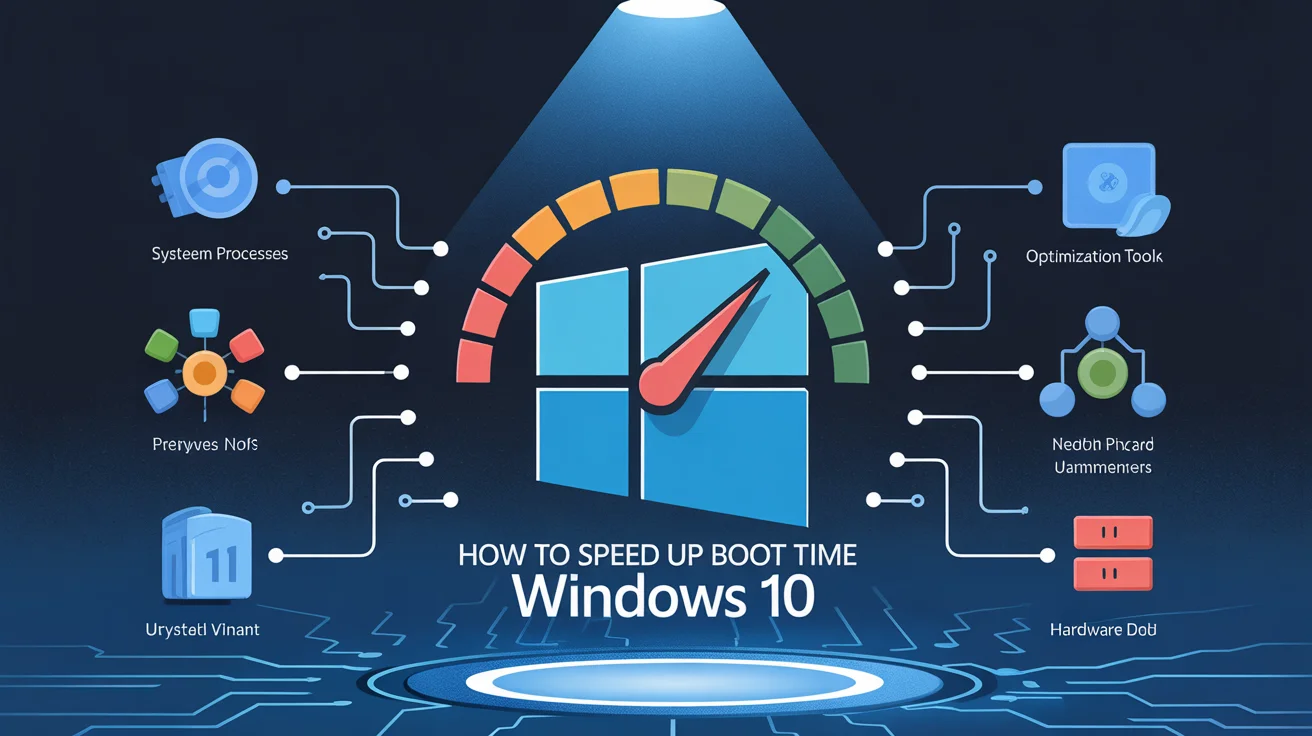
Windows 10 is a robust operating system, but over time, you may notice a significant delay during startup. Knowing how to speed up boot time in Windows 10 can save you precious minutes every day.
Whether you use your PC for work, gaming, or studies, a slow boot can feel like a frustrating roadblock. In this detailed guide, we’ll walk you through simple and advanced tips that improve startup time while maintaining system health.
Disable Unnecessary Startup Programs
One of the main culprits behind slow boot times is unnecessary programs that auto-start with Windows. These applications drain system resources and delay the login process.
To identify and disable these apps, use Task Manager. Right-click the taskbar and select Task Manager > Startup tab. You’ll see a list of all auto-start programs along with their startup impact. Disable the ones you don’t need immediately after boot.
Benefits of disabling startup apps:
- Faster login experience
- Reduced RAM usage
- Smoother overall performance
Enable Fast Startup Option
Fast Startup is a Windows feature that combines hibernation and shutdown for quicker reboots. When enabled, Windows saves system information to a file so it can resume faster.
This feature is often enabled by default, but it’s good to double-check. Go to Control Panel > Power Options > Choose what the power buttons do > Turn on fast startup.
Advantages of Fast Startup:
- Speeds up boot process
- Saves system state
- Useful for regular users with multiple restarts
Uninstall Bloatware and Unused Software
Over time, your Windows 10 system may accumulate unnecessary apps known as bloatware. These programs often start automatically and run in the background. They consume system resources and increase boot time without offering much value.
Bloatware can come pre-installed by manufacturers or get added through third-party installations. While some might seem useful, many run hidden services that slow down your startup. Removing them not only improves boot time but also frees up storage and memory.
To remove unused programs, go to Settings > Apps > Apps & Features and review the list. Sort by size or installation date to spot large or unfamiliar apps. Uninstall anything you don’t need by selecting it and clicking Uninstall. Avoid deleting system-critical applications unless you’re certain of their function.
Removing bloatware speeds up your system boot by stopping unwanted background processes. It also frees up valuable disk space and helps reduce overall CPU load at startup, making your PC run more efficiently from the moment you power it on.
Upgrade to an SSD (Solid-State Drive)
Nothing accelerates boot time like upgrading from a traditional hard drive (HDD) to an SSD. SSDs read and write data much faster, which directly affects how quickly your computer starts up.
Many users report boot time reductions from over a minute to under 15 seconds after switching to an SSD.
- Faster boot and shutdown
- Improved read/write speeds
- Longer battery life in laptops
Disable GUI Boot
GUI Boot shows the Windows logo animation during startup. While it looks nice, it does take extra time. Disabling it can shave off a few seconds from boot.
To turn it off, use the System Configuration tool (msconfig). Uncheck the “No GUI boot” option under the Boot tab.
This change won’t drastically cut your boot time, but it contributes to a leaner startup sequence.
Keep Windows Updated
Running the latest version of Windows 10 ensures your system benefits from performance optimizations, bug fixes, and enhanced security. An outdated system may experience slower boot times due to unpatched bugs or unsupported drivers. Regular updates help keep everything running smoothly from startup to shutdown.
Windows updates often include critical improvements that directly affect system speed and stability. Startup performance, in particular, is influenced by how current your drivers and system files are. Ignoring updates may lead to unnecessary delays when booting your device.
To ensure your system is up to date, go to Settings > Update & Security > Windows Update. Click Check for updates, install all available patches, and restart your PC. This simple maintenance step can reduce boot lag and improve overall reliability by resolving compatibility issues and bugs introduced in earlier builds.
Manage Visual Effects
Windows comes with visual effects like shadows and animations. While visually appealing, they can slow down older or less powerful PCs. Turning these off can result in noticeable performance gains.
To change these settings:
Right-click on This PC > Properties > Advanced system settings > Performance Settings > Adjust for best performance.
By disabling animations and visual effects, your PC loads essential elements faster during startup.
Adjust Virtual Memory Settings
Virtual memory acts like an extension of your RAM. Windows allocates part of your storage drive as temporary memory. Misconfigured settings can slow down your system, including boot time.
To tweak virtual memory:
- Control Panel > System > Advanced System Settings
- Under Performance, click Settings > Advanced > Virtual Memory
- Set the initial and maximum size based on system specs
This adjustment helps:
- Reduce RAM dependency
- Optimize boot time on memory-heavy systems
- Improve system stability during launch
Clean Up the System with Disk Cleanup
Junk files, old update data, and temporary internet files build up over time, causing your system to slow down. Disk Cleanup can help remove unnecessary files that affect performance.
Open Disk Cleanup by searching in the Start menu. Select your primary drive, and Windows will scan for files you can safely delete.
You can clean:
- Temporary files
- Delivery Optimization files
- System logs and error reports
Use a Lightweight Antivirus
Heavy security programs often scan everything during boot, causing slowdowns. While antivirus is essential, opt for one that’s optimized for performance. Windows Defender is a solid built-in option.
Also, avoid running multiple security tools at once, as it leads to redundant scanning and resource usage.
Reduce Boot Menu Timeout
By default, Windows waits a few seconds before launching the operating system to allow multi-boot selections. If you don’t need that, you can reduce or eliminate the wait time.
Press Win + R, type msconfig, and hit Enter. Under the Boot tab, reduce the Timeout value to 3 seconds.
Conclusion:
Learning how to speed up boot time in Windows 10 is all about identifying and removing bottlenecks. From disabling unnecessary startup programs to hardware upgrades like installing an SSD, each step contributes to a smoother and quicker startup experience.
By applying the methods discussed in this guide, you’ll not only reduce boot time but also extend the overall lifespan and efficiency of your system.
Regular maintenance, system updates, and conscious resource management are the keys to keeping your Windows 10 machine lightning fast. Try these solutions today and enjoy faster startups every time you press that power button.
Frequently Asked Questions:
Q1: What is the most effective way to speed up Windows 10 boot time?
A: Disabling startup programs and uninstalling bloatware are among the most effective ways. They reduce background load during boot.
Q2: Does upgrading to an SSD improve boot time?
A: Yes, switching from HDD to SSD can drastically reduce boot time and improve system responsiveness.
Q3: How do I disable startup programs in Windows 10?
A: Open Task Manager > Startup tab > Right-click unnecessary programs > Click Disable.
Q4: Can too many services slow down booting?
A: Yes, excessive background services can delay startup. Disabling non-essential services can improve boot time.
Q5: Is fast startup safe to enable in Windows 10?
A: Yes, enabling Fast Startup is safe and helps your system boot faster by saving system state to disk.